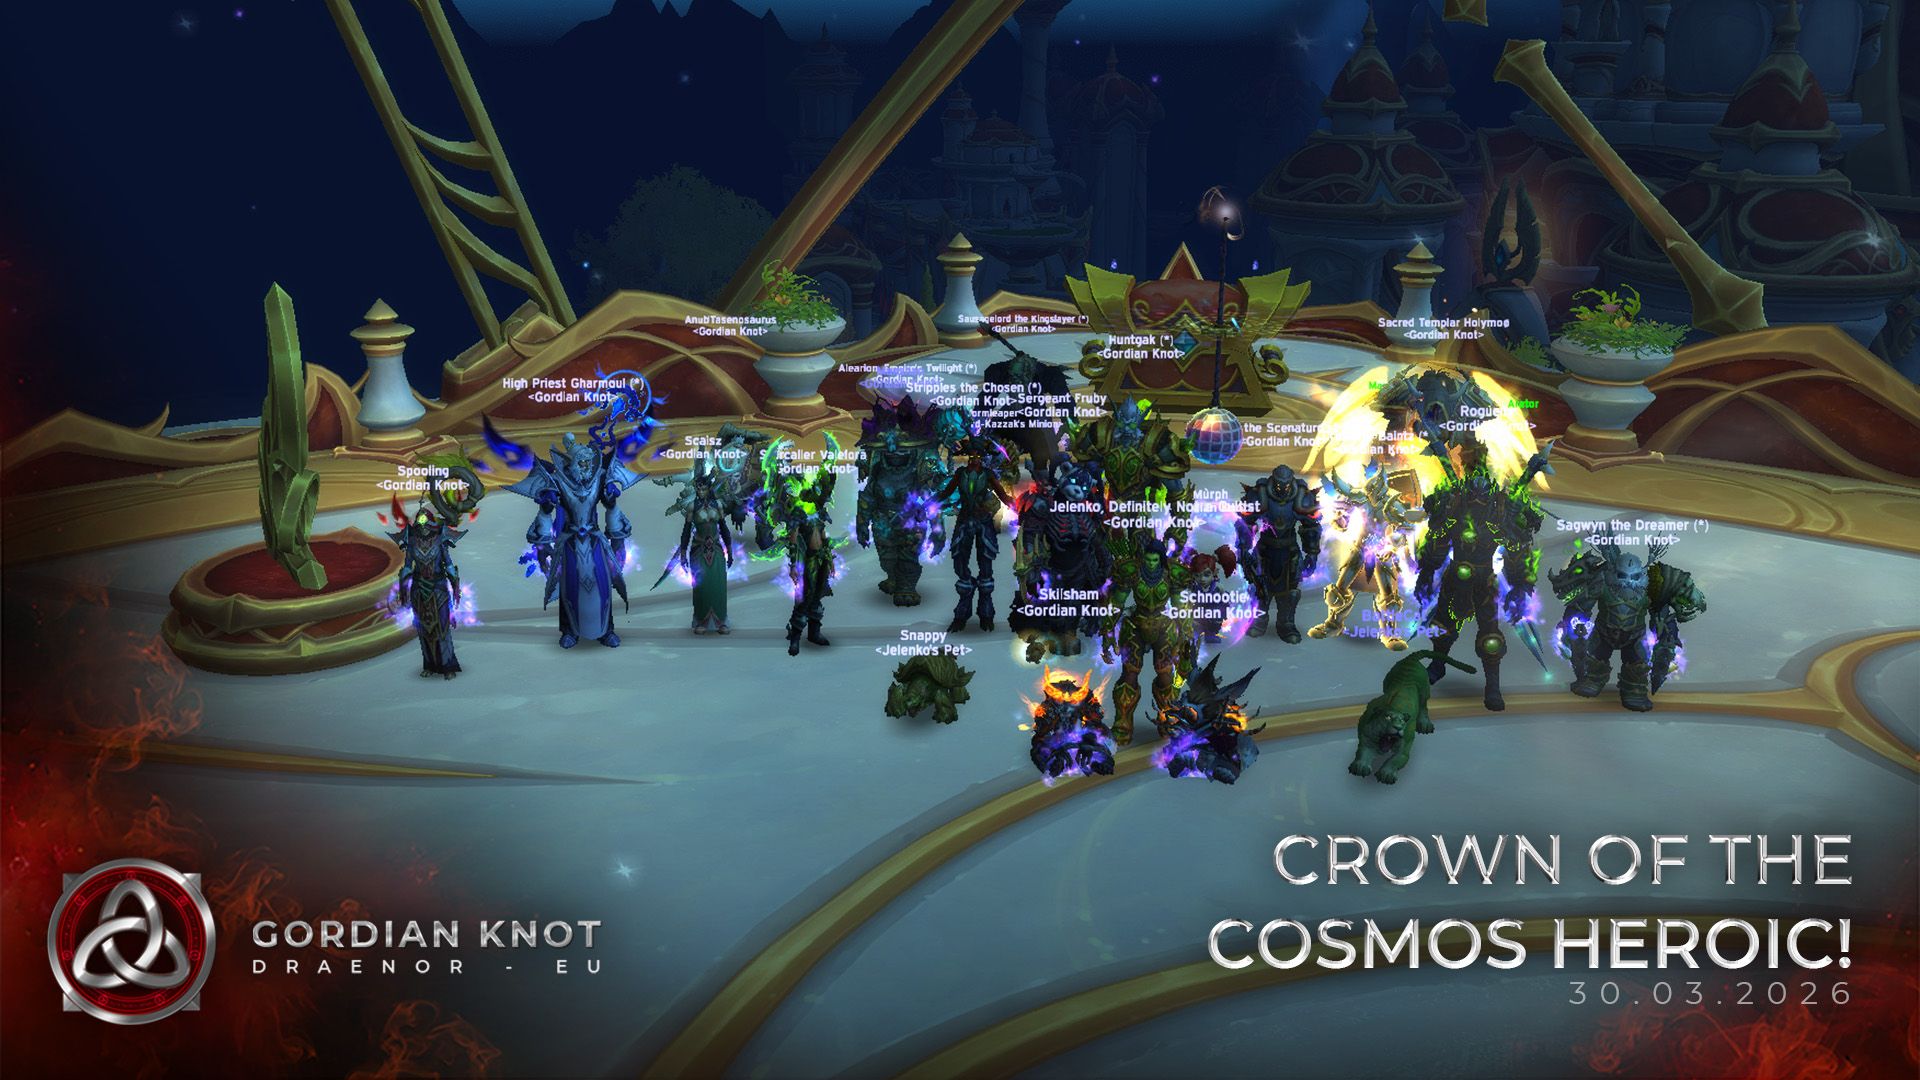
Queen Ansurek Heroic & AOTC!
The best WoW Guild vs Queen Ansurek Heroic & AOTC!
Justice has been served on Queen Ansurek for her crimes against her Queen Mother and her people! While she bared her fangs in the first phase, we turned the tide and emerged victorious, securing our first Ahead of the Curve for The War Within.
Queen Ansurek Heroic Kill Guide
In this guide, we’ll focus on the tips and tricks we picked up during progression, giving you the tools to tackle this tricky spider on Heroic difficulty!
General Setup and Advice
- Group Size: We found that limiting the raid to 20 players with a 2-4-16 setup worked best.
- Subgroups: Divide the raid into two subgroups of 10, splitting tanks and healers evenly. Keep this setup consistent in Phases 1 and 2.
- FPS and Field Clutter: More than 20 players caused FPS issues and cluttered the field, leading to mistakes.
Wipe Management:
You’ll spend most of your wipes in Phase 1. Once you consistently push through it, expect the boss to die in fewer than 10 pulls. The next two phases are significantly easier.
Phase 1: The Most Challenging Phase
Assignments:
- Soaking Reactive Toxins:
- Groups 1 & 2 soak the toxin near the platform’s edge.
- Groups 3 & 4 soak the toxin closer to the middle.
- Toxin Poppers:
- 3 players from Groups 1 & 2 pop the outer toxins.
- 3 players from Groups 3 & 4 pop the inner toxins.
DPS should handle this to allow healers and tanks to focus on stability.
Positioning:
Toxins: Place them behind the boss, keeping them close (see screenshot) to allow melee full uptime on the boss. This also lets Tanks soak and move out quickly while maintaining mitigation by hitting the boss.

- Movement: Players bursting toxins should immediately move to either the edge or the middle of the platform depending on which side they were assigned to burst the toxin. The rest of the raid should shift forward to avoid confusion about where the Concentrated Toxin circles will land.

Pressure Points:
At around 1:45, Phase 1 becomes intense with a quick sequence of mechanics:
- Silken Tombs → Web Blades → Silken Tombs → Reactive Toxins
This happens within 20 seconds and requires excellent coordination.- The third Silken Tomb is trickiest, appearing 16 seconds after the second. Classes unable to clear roots every 15 seconds should save their root-clearing abilities for the third set of Tombs. This is how we positioned our selfs for this sequence

- The third Silken Tomb is trickiest, appearing 16 seconds after the second. Classes unable to clear roots every 15 seconds should save their root-clearing abilities for the third set of Tombs. This is how we positioned our selfs for this sequence
- End of Phase 1: If you survive the third Reactive Toxins without losing too many players, the rest of the phase is smoother. Assign a mobile healing cooldown (like Holy Word: Salvation) for the final part, where Ansurek webs everyone and pulls the raid toward her. Even if you’re down 1-2 players, keep pushing, Phase 2 is manageable with a couple of deaths.
Phase 2: Keeping It Simple
No major positioning notes here, but:
- Pull Warning: Make sure someone calls out Ansurek’s pull so no one accidentally flies off the platform.
Pressure Points:
- Second Platform:
- Dispel Gloom Touch quickly on the first debuff and top up your raid, as there’s a pull shortly after the debuffs are applied.
- Let the second debuff expire and explode on its own.
Phase 3: Finishing Strong
Positioning:
- Infest & Hatchlings: Tanks should drop Infest behind the raid to spawn Gloom Hatchlings, which must be CCed and nuked before they reach the Queen.
- Royal Shackles: Drop these on either side of the boss and cleave them down.
- Abyssal Conduits: Drop them diagonally (see screenshot) to gain more distance, making dodging the orbs easier when they spawn.
Pressure Points:
- After the second Infest, you’ll have to quickly kill:
- Gloom Hatchlings
- Two Royal Shackles
- Three Summoned Acolytes (hanging from the ceiling)
This is an ideal spot to use your second potions and any remaining cooldowns to push the adds fast. You want these dead before Ansurek casts Frothing Gluttony.

- Essence Pickup:
- Two Summoned Acolytes will drop Acolyte’s Essence. These must be picked up and carried through the portals during Frothing Gluttony. If the closing beams touch the Acolyte’s Essence, they’ll explode and wipe the raid.
-
- On some pulls, we had trouble spotting the Acolyte’s Essence, so here’s a screenshot from our kill to help you locate them faster.

We hope these tips help you on your journey to Ahead of the Curve! Best of luck taking down this Pesky Spider on Heroic!
We hope this guide helps you succeed in your ventures Nerub-ar Palace! For more guides like this and updates on our progress, follow us on social media:
Facebook:
https://www.facebook.com/GordianKnotEU/
https://www.facebook.com/groups/gordianknot/
Twitter:
https://x.com/GordianKnotEU
Instagram:
https://www.instagram.com/gordianknoteu/
TikTok:
https://www.tiktok.com/@gordianknoteu
If you’re looking to join one of the most active and friendly World of Warcraft guilds in Europe, feel free to apply here, or join our Discord and reach out to anyone with the rank of Captain or higher. We’d be delighted to welcome you to our ranks!


