

Cutting Edge: Crown of the Cosmos Mythic Down!
Cutting Edge: Crown of the Cosmos Mythic!
WoW Guild EU Mythic Progression
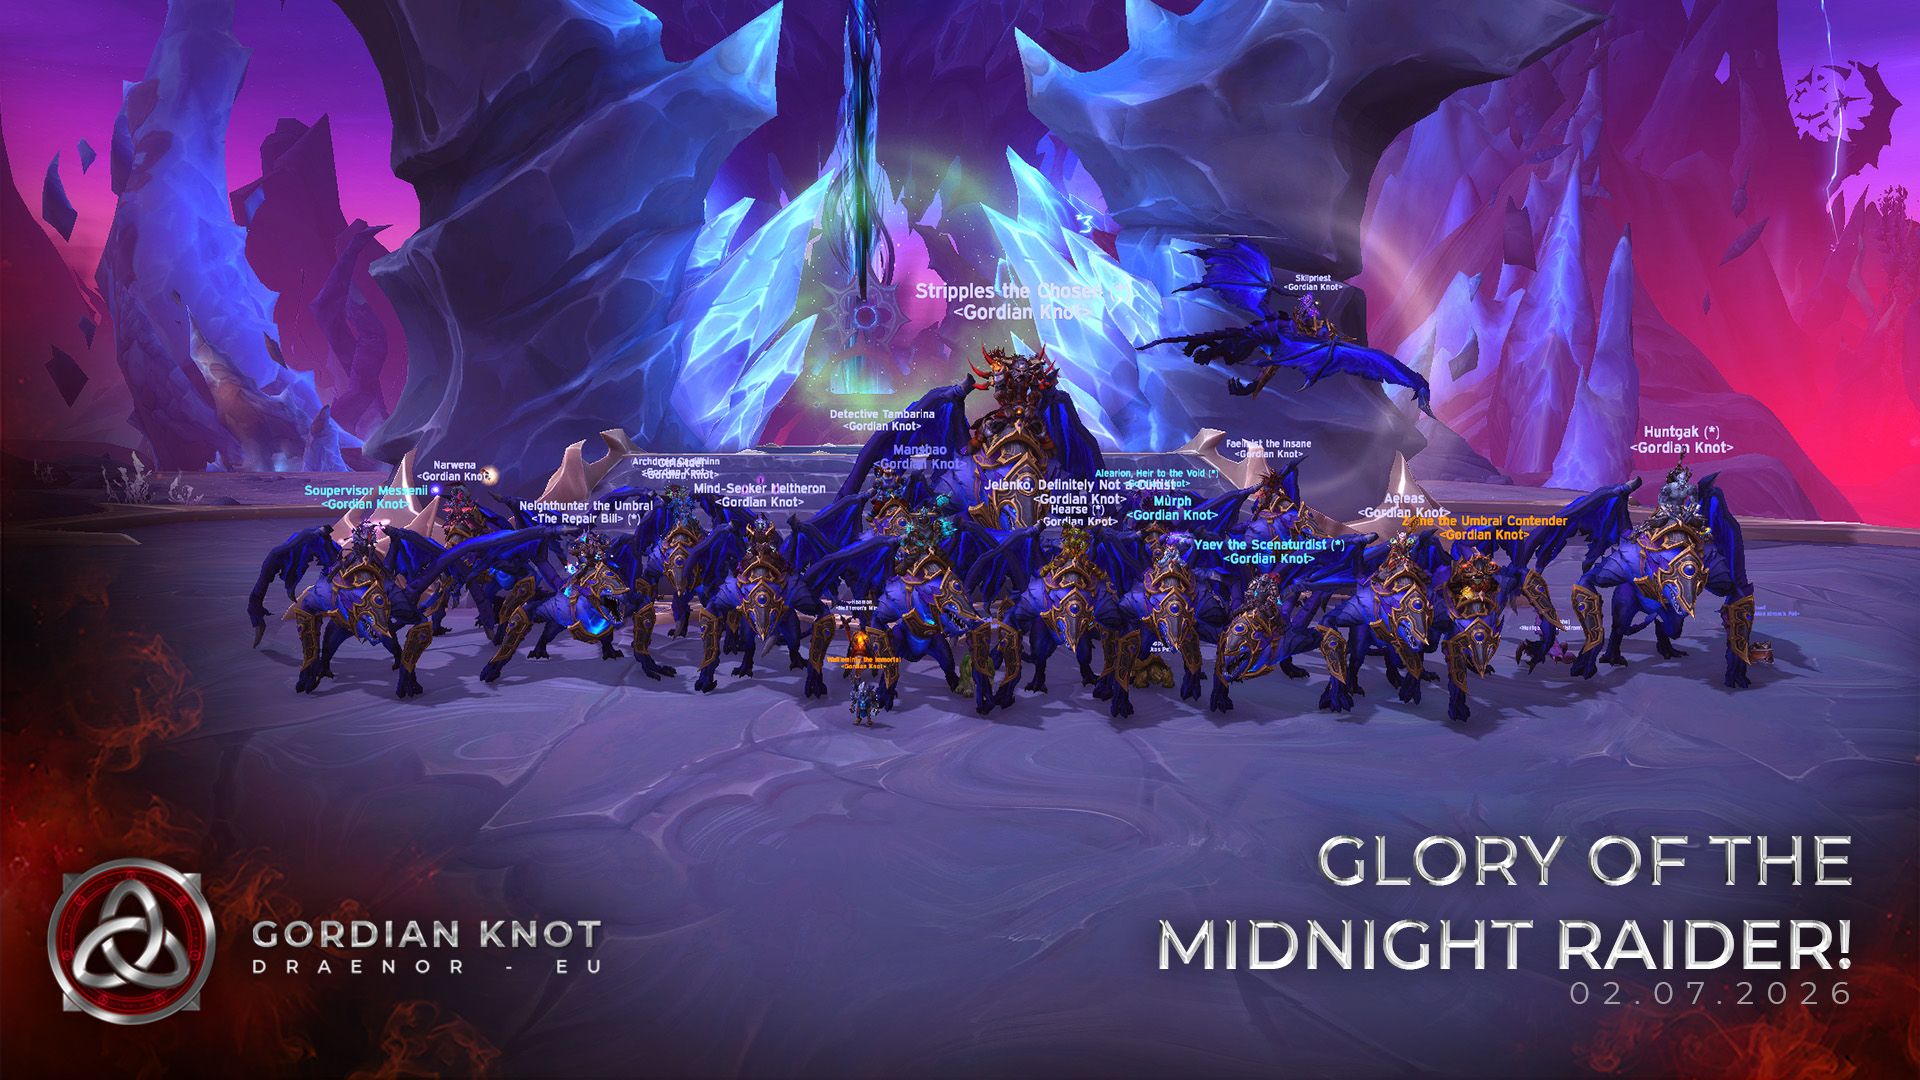
Woop Woop! Second Cutting Edge of the tier! 😊
Poor Murph chose the wrong day to be exhausted from work and missed the kill. Don’t worry, little Murphopoulo, we’ll get a re-kill for you soon!
This is a lengthy encounter with a lot of positioning requirements, so instead of our usual guide format, I’ll provide a list of practical tips for each phase. For detailed positioning, please refer directly to our Raid Plan: https://raidplan.io/plan/KoQ4Jk2edcupUsZD.
At this point we need to give special congratulations and an honourably mention to our Healing Officer Skil that sneakily added a hidden raid warning in the defensive assignments counting down to:
10… 9… 8… BUY A KOK for our Guild Leader, who spent over 50 pulls with it active and somehow only noticed it on the kill pull.
Truly one of the greatest awareness checks of the entire encounter. 😊
For context — Kok is a perfectly respectable Greek chocolate dessert.
For everyone else in the raid, it was the highlight of the entire progress tier.
You can hear the assignment fire off at around 3:55 in the kill video here: https://youtu.be/8kVLYWUgHLY?t=234
You’re welcome.
Phase 1
It seems this is a Death Knight tier. A DK is almost mandatory for this encounter, having one to grip the small adds onto the active boss during Phase 1 is extremely valuable. They become absolutely invaluable in Phase 2 when handling the Silver Simulacrums.
Boss Kill Order
- Demiar
- Morium
- Vorelus
Silverstrike Arrow Assignments
- 1st Arrow – Nothing
- 2nd Arrow – Demiar
- 3rd Arrow – Nothing
- 4th Arrow – Morium
- 5th Arrow – Nothing
- 6th Arrow – Vorelus
Skipping one arrow on each boss gave us enough time to kill the nearby adds and build higher stacks of Corrupting Essence, allowing us to comfortably kill each boss before the next transition.
For the same reason, avoid using major cooldowns on Demiar during the first 20 seconds of the fight. Allow him to gain several stacks of Corrupting Essence first. After that, simply use cooldowns as they become available.
Grasp of Emptiness (Obelisks)
Always have melee players move toward the outer edge of the platform, forcing the Obelisk projectiles to fire toward the centre of the arena.
Ranged players should move according to the assigned direction in the Raid Plan.
Important: Players targeted by the Obelisks should remain one step behind the raid group at all times. This prevents accidental projectiles from clipping and killing other players.
Healing & Defensives
Null Corona
Do not immediately dispel players affected by Null Corona. The goal is to heal through the absorb whenever possible.
Only dispel if the affected player is genuinely at risk of dying, as dispelling prematurely causes the absorb to jump to another player.
Silverstrike Arrow
Use a defensive every time you are targeted by Silverstrike Arrow.
Void Expulsions
The largest healing requirement in Phase 1 occurs when Void Expulsions detonate. Assign healing cooldowns specifically for these explosions.
Intermission
Keep moving.
While running, aim to be hit by Silverstrike Barrage periodically.
- If you are hit twice in a row, you will likely die.
- If you are never hit, Stellar Emission will slow you excessively, eventually pulling you into the centre and killing you.
The goal is to alternate your hits and maintain a manageable movement speed throughout the phase.
Phase 2
Use Bloodlust/Heroism here, but save your second potion for the start of Phase 3.
This phase ends either when Aleria reaches 40% health or when she reaches full energy.
Kill Squad
Assign a dedicated “Kill Squad” to jump across and eliminate the Simulacrum that spawns at the start of the phase.
Classes that can easily return to the raid are ideal:
- Warlocks
- Elemental Shamans
- Hunters
Three to four players are more than enough.
Silver Simulacrums
- Ranged players should aim and hit the closest Simulacrum with their Obelisks.
- Melee players should aim and hit the furthest Simulacrum with their Obelisks.
Most Important Mechanic
Always ensure that Silverstrike Arrow hits both the boss and the adds.
For the adds, it allows them to be killed.
For the boss, it removes 5 energy, significantly extending Phase 2 and shortening the much more difficult Phase 3.
Positioning is extremely important here, so please refer to the Raid Plan for exact placements.
Phase 3
If you’ve reached this phase consistently, congratulations—you probably have around 20 pulls left before the boss dies.
The biggest challenge is handling the tether breaks correctly.
Umbral Tether Break Assignments
First Set (Red Platform)
Assign 2–3 healing cooldowns and break all three tethers immediately.
Second Set
Break order:
- Ranged
- Melee
- Tank
Third Set (Before Warlock Portal)
The tank assigned to pick up Demiar breaks immediately.
Everyone else takes the portal first, moves to the next platform, and then breaks in the following order:
- Ranged
- Melee
Fourth Set
- Ranged
- Melee
- Tank
Fifth Set
- Ranged
- Melee
- Tank
Additional Tips
- During the second and fourth tether sets, Void Expulsions are about to explode. Allow the explosion to occur before beginning the tether breaks.
- On the first platform, melee players can continue damaging the boss. Vorelus will cast his large AoE one or two more times before dying, which will force melee out anyway.
- When fighting Demiar, call out his interrupting AoE cast clearly so the raid can prepare.
- On the final platform, move Morium away from Aleria and focus all damage into the boss. By this stage she should only have around 5% health remaining, making add damage largely irrelevant.
The Hardest Positioning Check
The most dangerous moment of the fight is the portal transition from the Star Platform to the Skull Platform.
The entire raid must pixel-stack on the inner ring while remaining slightly toward the side.
This positioning ensures:
- The add spawns correctly on the Skull Platform.
- Tethers do not accidentally break during the portal transition.
Move too far away and your tethers will snap as you land.
For an exact visual reference, check our kill video here: https://youtu.be/8kVLYWUgHLY?t=416
And there you have it!
Enjoy your Cutting Edge.
If you need any help with tactics for this boss or any of our previously defeated bosses, feel free to join our Discord: https://discord.gg/NyuK2QJY5k and DM me (Leleko) a message.
See you soon with more guides! 😊
For guides and updates on our progress, follow us on social media:
Facebook:
https://www.facebook.com/GordianKnotEU/
https://www.facebook.com/groups/gordianknot/
Twitter:
https://x.com/GordianKnotEU
Instagram:
https://www.instagram.com/gordianknoteu/
TikTok:
https://www.tiktok.com/@gordianknoteu
If you’re looking to join one of the most active and friendly mythic raiding, World of Warcraft EU guild, feel free to apply here, or join our Discord and reach out to anyone with the rank of Officer or higher. We’d be delighted to welcome you to our ranks!
Also here’s a link from wowhead.

Add Comment
You must be logged in to post a comment.